


Note:
Flashing LED lights operate 24/7 or dusk to dawn and are powered by a self-contained battery system, allowing them to run for up to 48 hours (2 days) without sunlight.
Recommended Accessories
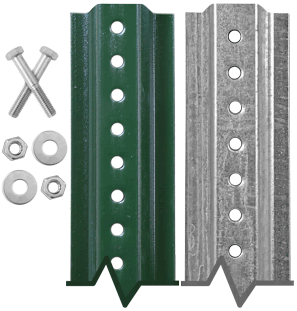
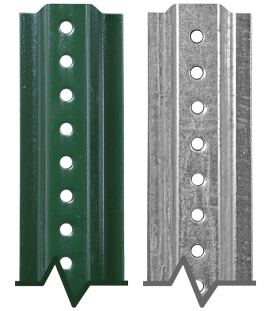
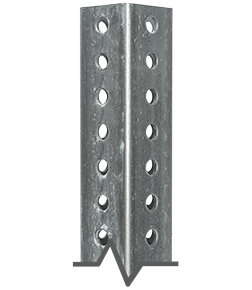

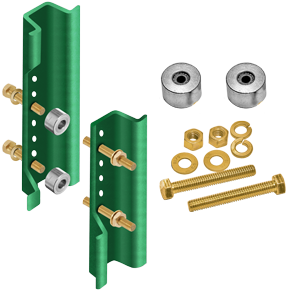
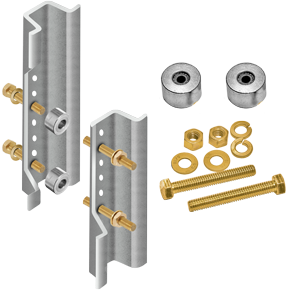

Frequently Purchased Together


Product Information
Details
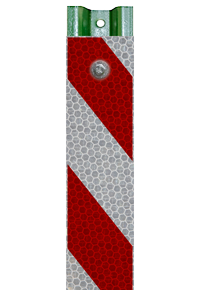
Our LED Solar Stop Sign - Standard Visibility Model is a bright, eye-catching solution to enhance road safety and visibility in low-light conditions, helping drivers easily identify stopping points. Built with high-quality, durable materials, this LED stop sign ensures long-lasting performance and is ideal for roadways, parking lots, and intersections.
Standard LED Stop Sign Features
- The Standard LED Stop Sign R1-1 is designed for installation on both new and existing poles.
- Sign comes in various sizes and reflective grades to suit your specific needs.
- MUTCD Compliant.
- LED flashing operates 24/7.
- Flashing LEDs enhance safety at intersections by increasing driver awareness of traffic control signs.
- Improved visibility both during the day and at night.
- With its adjustable tilting solar panel, it charges in just 6-8 hours and provides up to 48 hours of continuous use.
- Easily monitor the battery percentage digitally to stay informed about when a recharge is needed.

Solar Panel Unit and LED Specifications
| Modes | 24/7 Flash or Flash from Dusk to Dawn |
| Battery | 12V 7,500 mAh Rechargeable Lithium-Ion Battery |
| Battery Life | 6-8 hours to fully charge / up to 48 hours of use |
| Solar Panel | 18V 22W |
| LEDs | 8 LEDs (0.5W each) |
| LED Colors | Red |
| Reflective Grades | EG, HIP, DG |
Standard LED Stop Sign Installation
Step by Step Installation Provided Below:
-
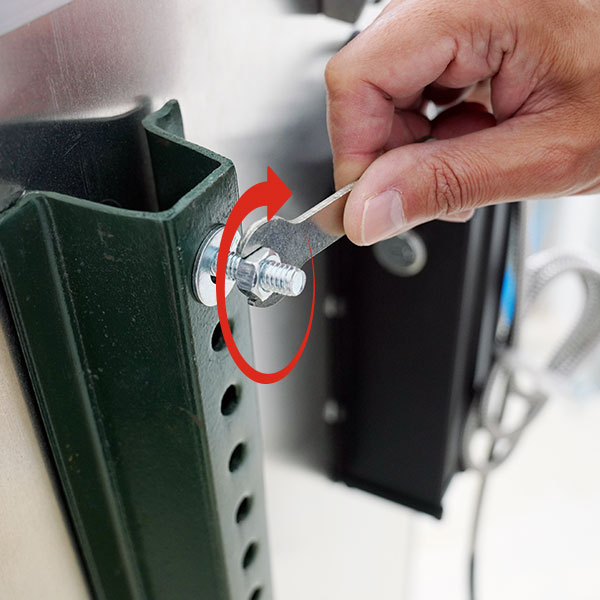
1. Secure the sign to the post using
the provided mounting bolts. -
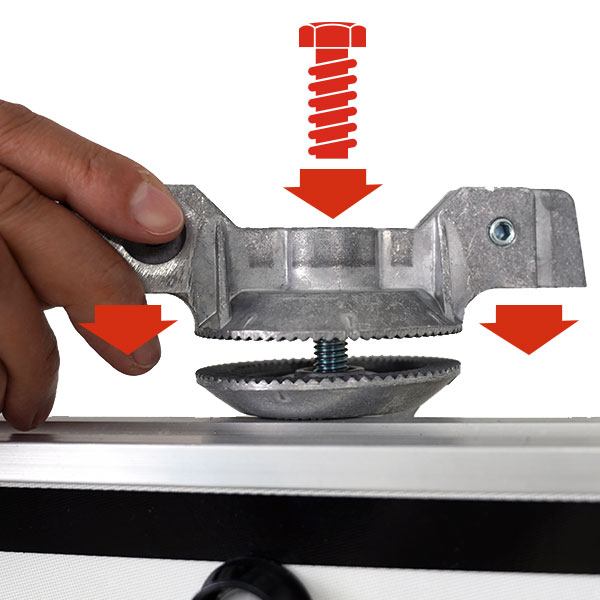
2. Position the bracket and screw for
the solar panel in their designated locations. -
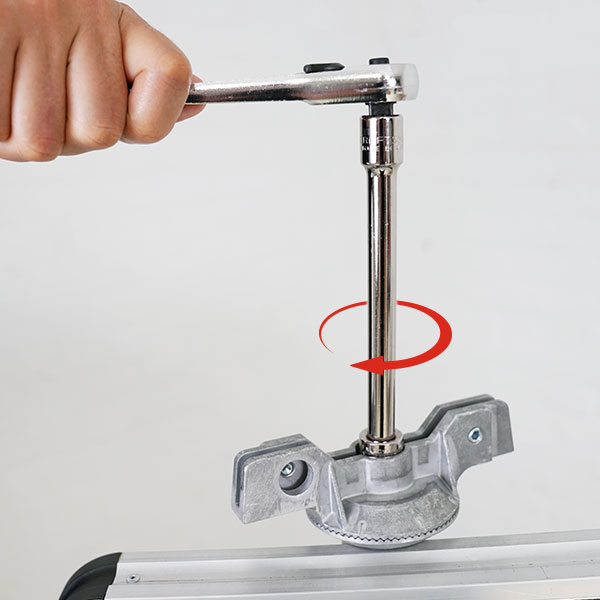
3. Use a socket wrench to adjust the
bracket's angle, then tighten the screw securely. -
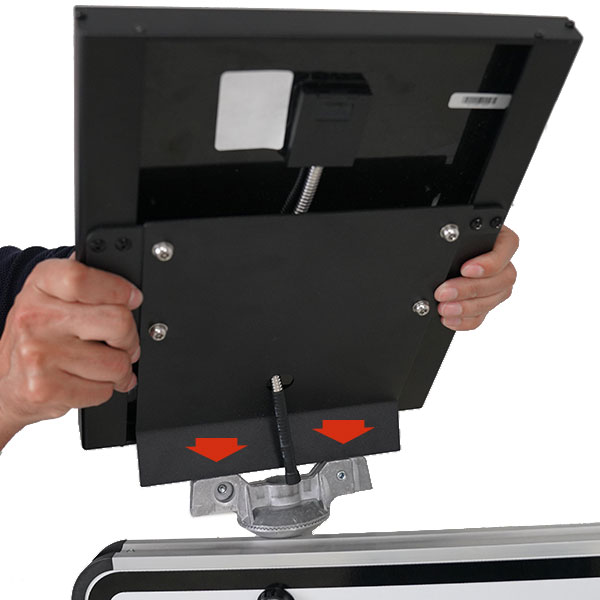
4. Align the solar panel with the bracket,
then place the solar panel into position. -
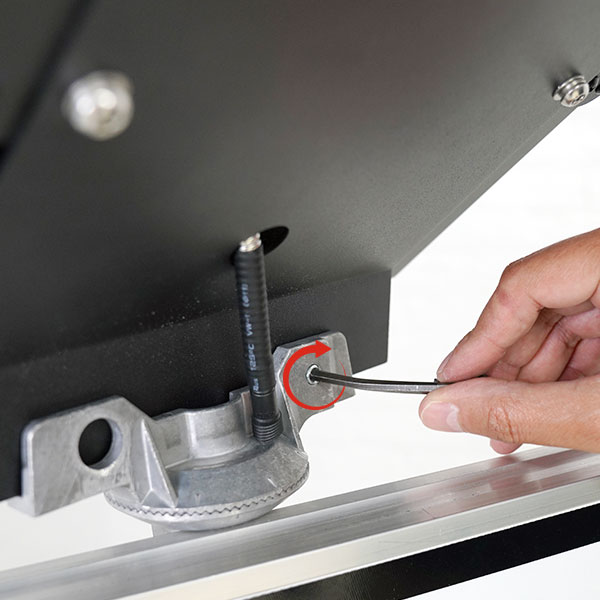
5. Use an Allen key to tighten the two
set screws, securing the solar panel to the bracket. -
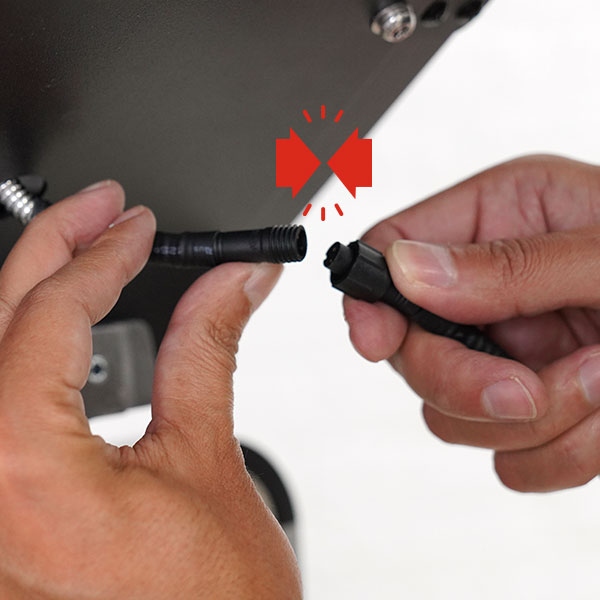
6. Connect the cable from the solar panel
to the cable from the battery. -
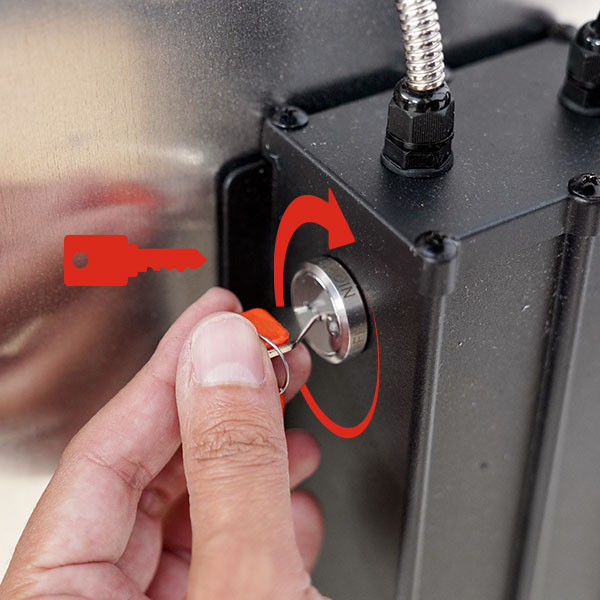
7. Turn the orange key on the battery to
switch between functions: Off, 24/7 flashing,
and night mode (dusk to dawn) flashing. -
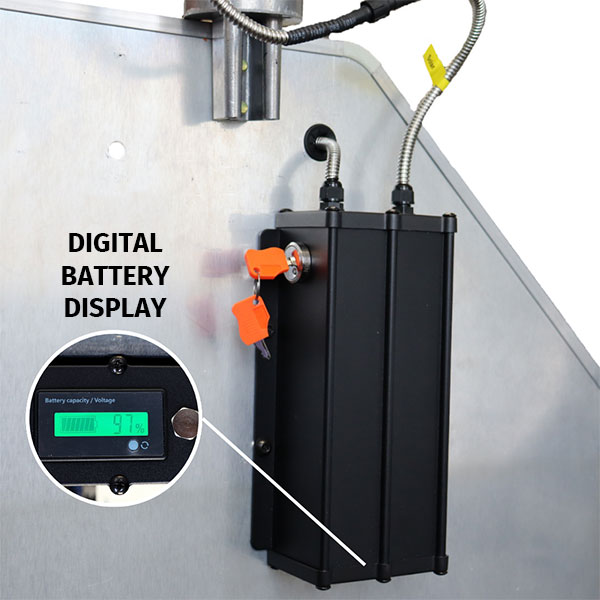
8. Press the small button next to the
digital display to check the battery charge.
The first press shows the battery percentage,
the second displays the voltage (100% = 12.5V),
and the third press turns off the display.
Technical Resources
Data Sheet


