- Item #
- Y3536-175SQ8
Recommended Accessories

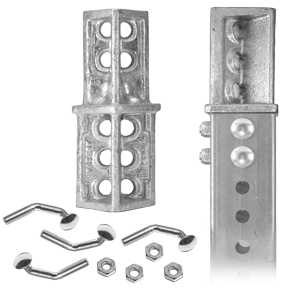
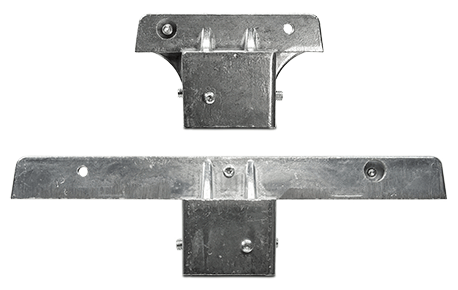
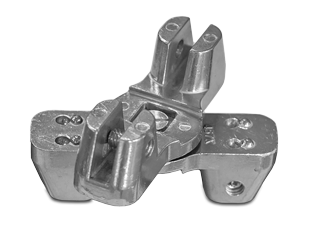


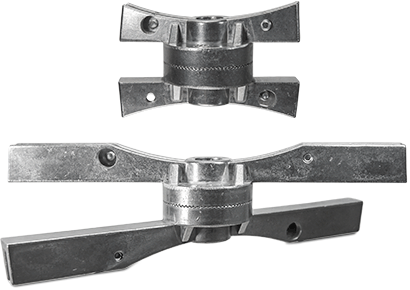

Frequently Purchased Together
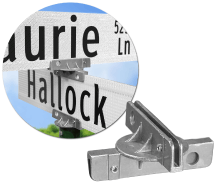
Product Information
Details
Square Post Specifications, Installation and Sign Mounting
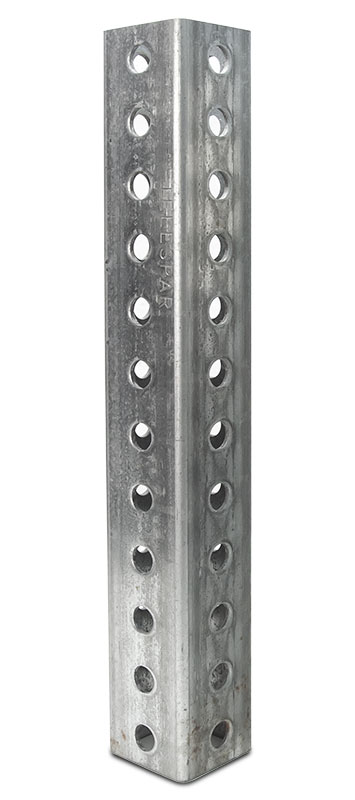
The square post is one of the most versatile posts in the industry and a great choice for displaying traffic signs, parking signs, and property signs. The square shape provides greater wind load capabilities and torsional stability, allows signs to be mounted on all four sides of the post, and enables each subsequent size to fit into the next smallest or larger post. The sections below will provide specifications for all our square posts, installation requirements and tips, as well as sign mounting instructions.
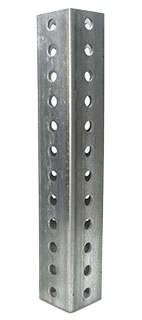
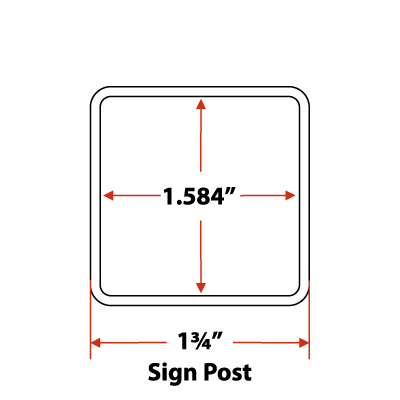
These square posts are 1-3/4" wide and available in lengths from 6' to 10'. These galvanized square posts are 14 gauge and have 7/16" holes spaced 1" apart on center for sign mounting.
Sign mounting hardware is sold separately.
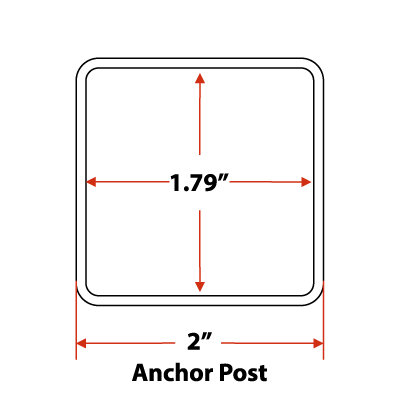
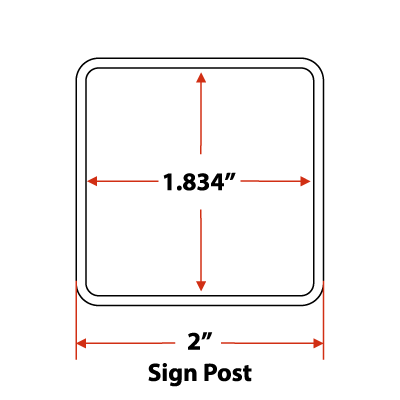
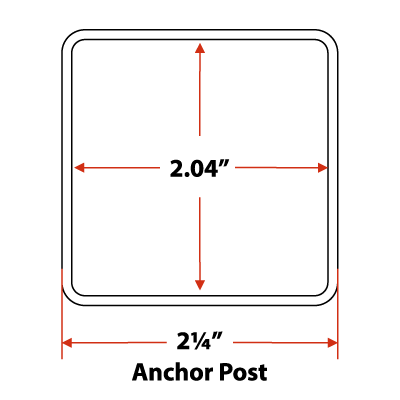
Square Post Specifications
Square Post Installation
The following table details the recommended installation depth for square posts without the use of an anchor post. SafetySign.com recommends the use of an anchor post with every post installation to increase safety in the event of a vehicle collision with the post, and to help maximize the amount of available space on the post for mounting a sign.
* Installation Depth Notes:
- The depth numbers we are providing are general guidelines and do not take into account the different types of soil in your specific location. When possible, it is ideal to install square posts to a depth of 30″ - 36″.
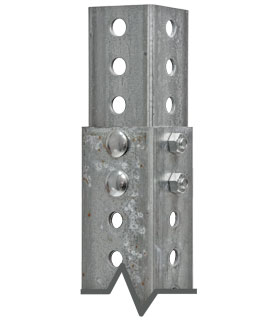
- A breakaway system should be used when installing posts on public roadways and on private roads open to public travel such as those running through a non-gated corporate complex or shopping center. Our breakaway anchor post should be installed approximately 32″ into the ground.
- Be aware of frost lines as they vary by region of the country.
Square Post Sign Mounting
There are three options for mounting signs to a square post. Option 1 utilizes tamper resistant drive rivets, Option 2 utilizes a standard hex-head bolt set, and Option 3 utilizes a tamperproof one-way bolt set.
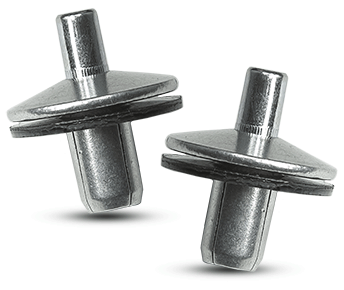
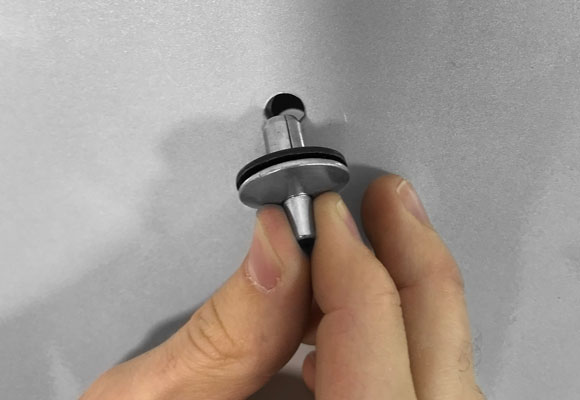
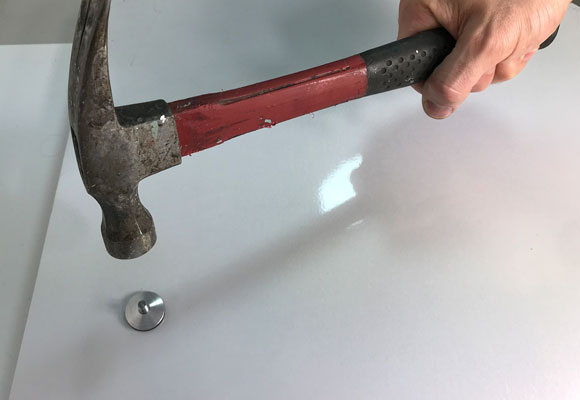
Option 1 – Drive Rivets
Hardware required:
- Our Y3527 drive rivet.
Tools required:
- Hammer
Installation instructions:
- Place the sign on the square post where it meets your height requirement and line up the mounting holes with the holes on the post.
- Insert our Y3527 drive rivets through the mounting holes on your sign into the post.
- Using a hammer, hit the drive rivet until the pin is flush with the head.

-
Inside view of the drive rivet used for sign installation on a square post. -
Mounted sign installed with a drive rivet.
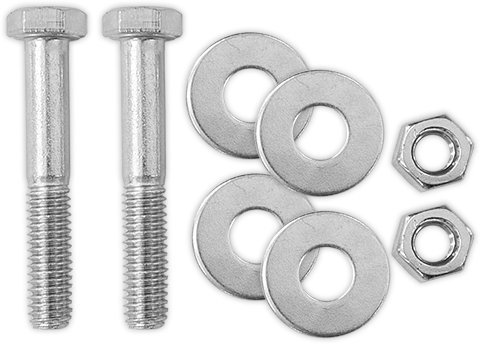
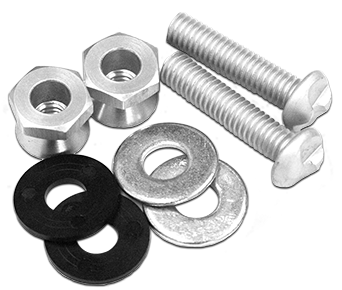
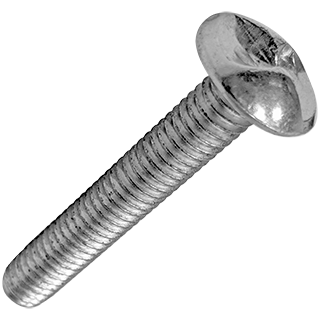
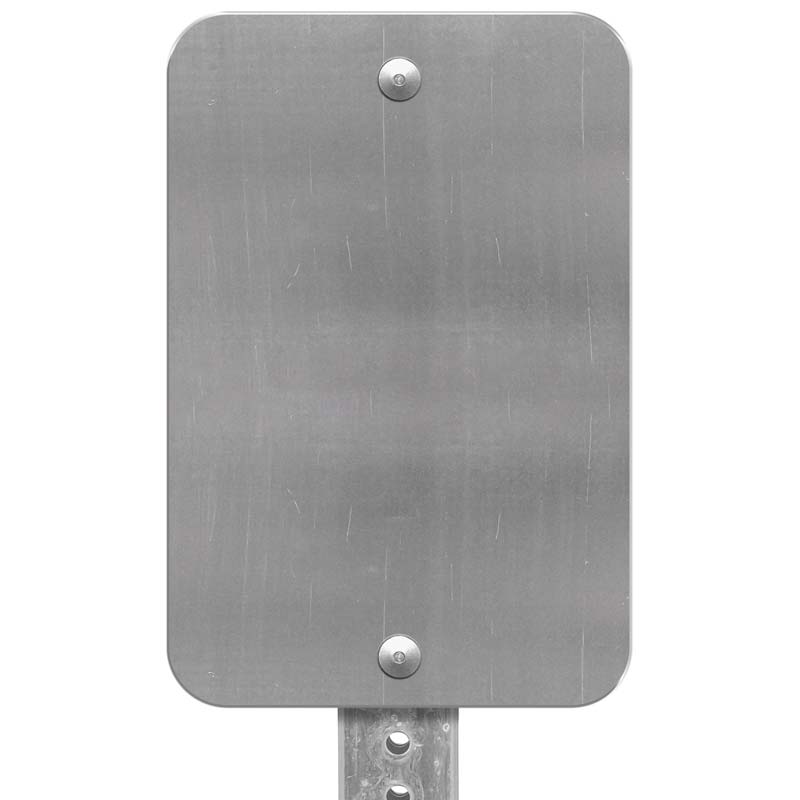
Option 2 – Standard Hex-Head Bolt Set
-
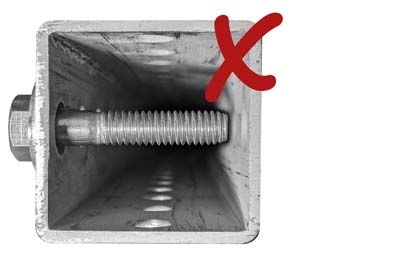
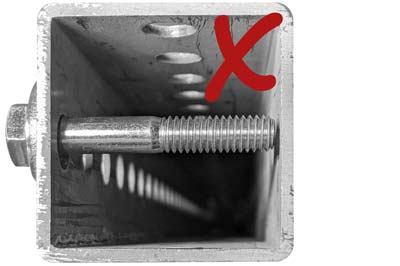
With 5/16 x 1½″ hardware
No Good. -
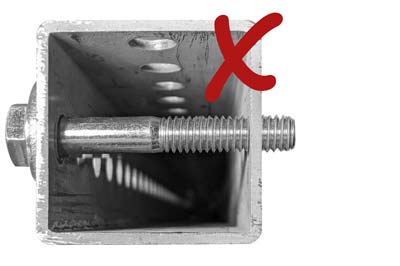
With 5/16 x 2″ hardware
Barely Fits. -
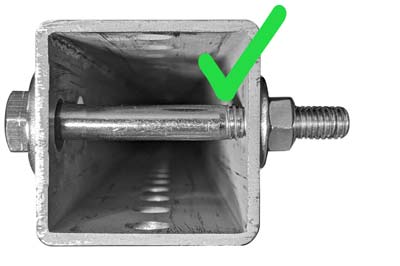
With 5/16 x 2½″ hardware
Perfect Fit!
-
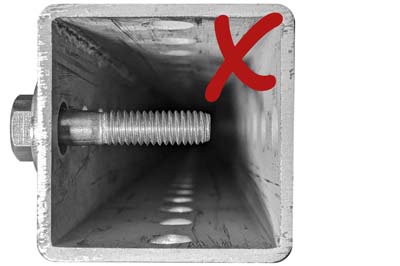
With 5/16 x 1½″ hardware
No Good. -
With 5/16 x 2″ hardware
No Good. -
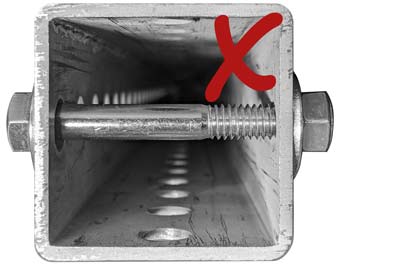
With 5/16 x 2½″ hardware
Barely Fits. -
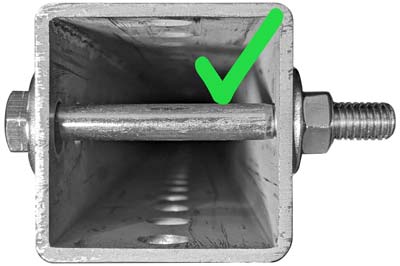
With 5/16 x 3″ hardware
Perfect Fit!
Hardware required:
Tools required:
- ½″ socket and ratchet wrench
- ½″ combination wrench
Installation instructions:
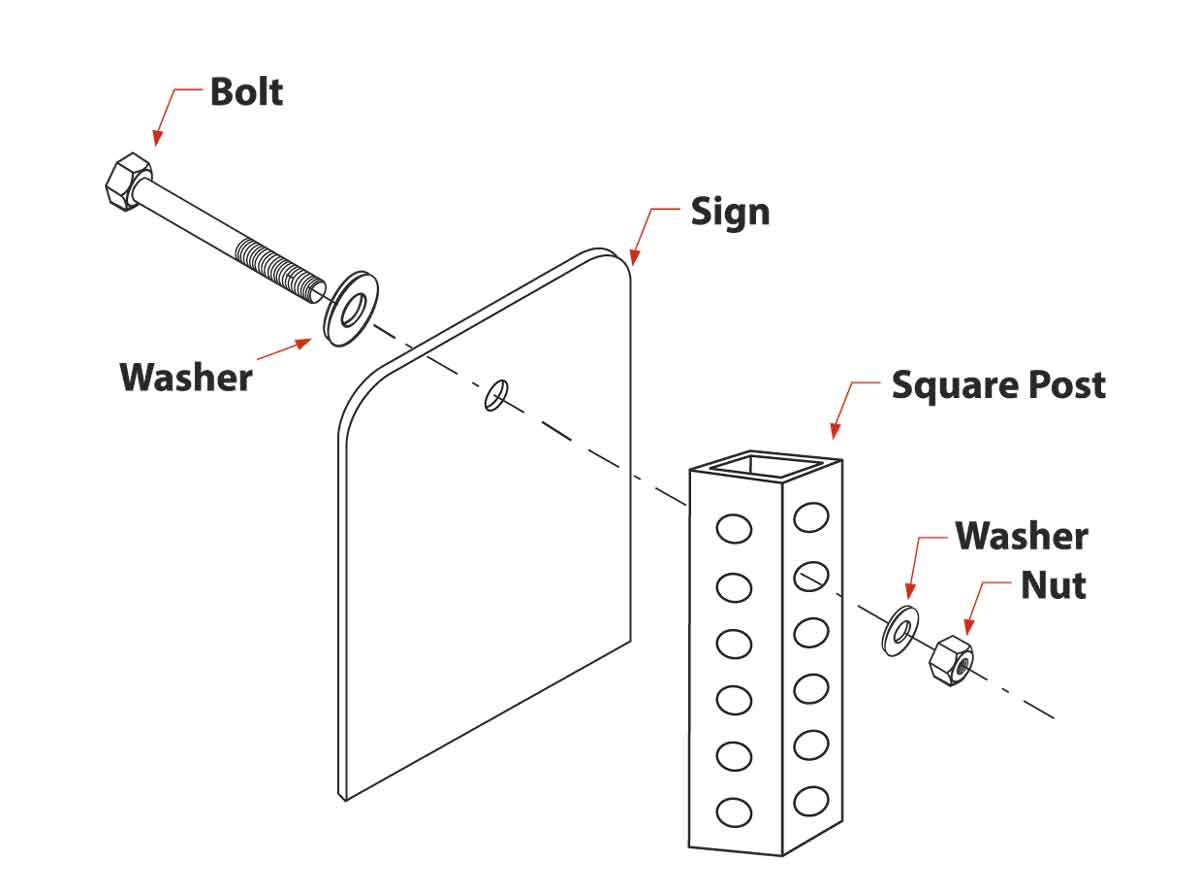
- Place the sign on the square post where it meets your height requirement and line up the mounting holes with the holes on the post.
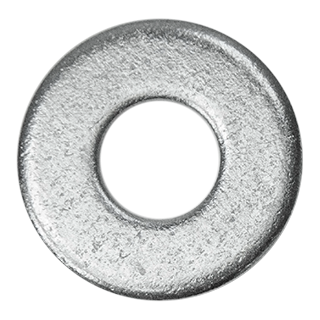
- Using our Y3465 or Y3550 bolt sets, insert a washer over the 5/16″ bolts and then insert the bolts into the mounting holes of the sign and through the post.
- Insert a washer on the other end of the bolt followed by the nut and tighten the nut down.
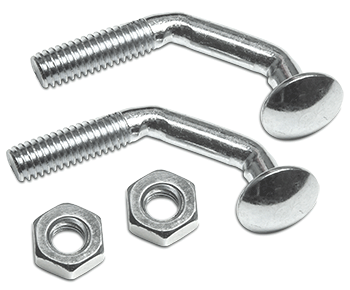
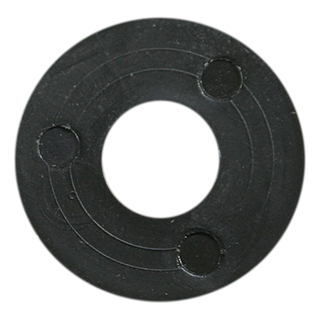
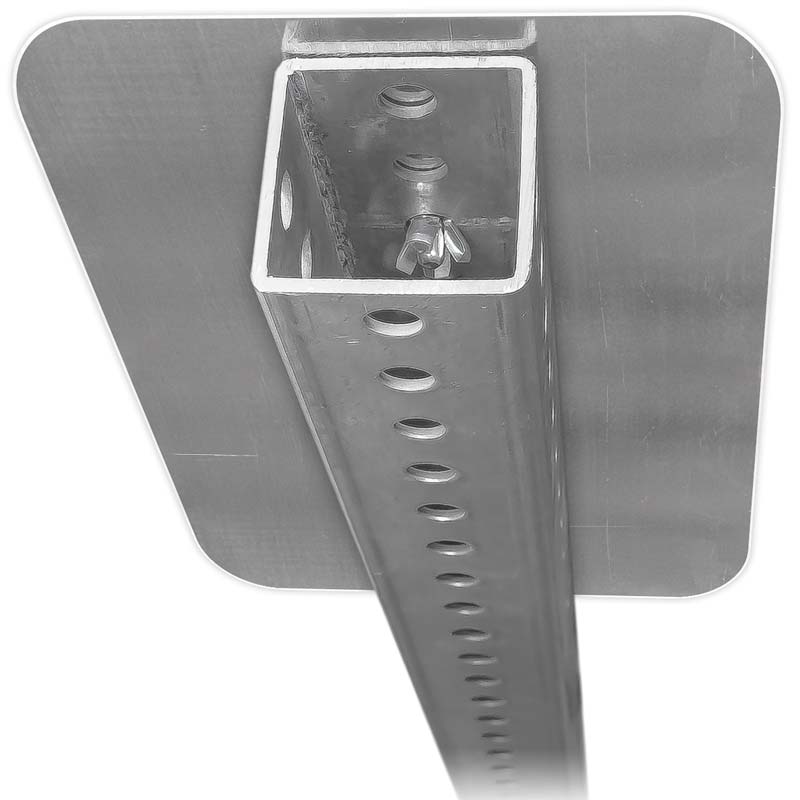
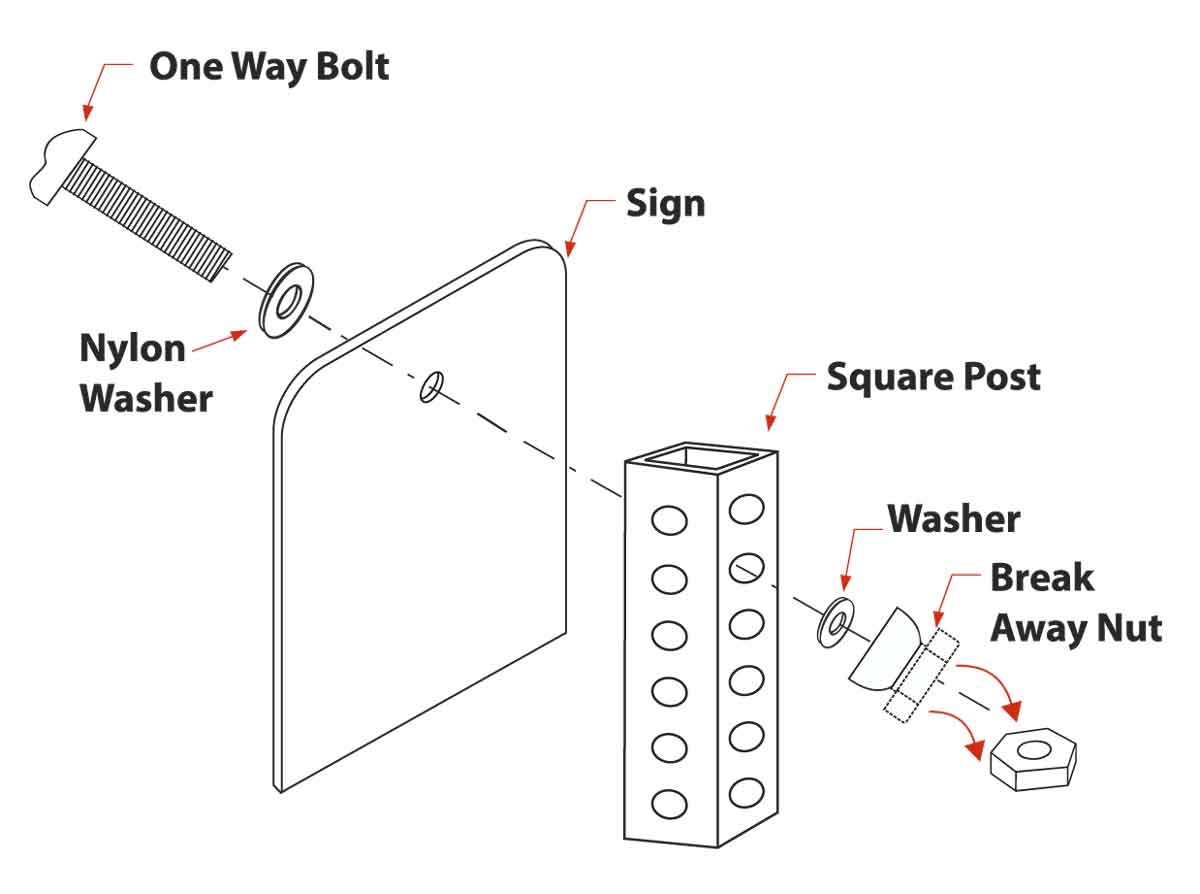
Installing Tamperproof One-Way Bolt Set
Hardware required:
- Our Y4900TS or Y4901TS bolt sets.
Tools required:
- ⅝″ socket and ratchet wrench
Installation instructions:
- Place the sign on the square post where it meets your height requirement and line up the mounting holes with the holes on the post.
- Using our Y4901TS or Y3551 bolt sets, insert a washer over the 5/16″ bolts and then insert the bolts into the mounting holes of the sign and through the post.
- Insert a washer on the other end of the bolt followed by the breakaway nut with the cone end facing the post.
- Tighten the nut down until it shears from the cone.
Technical Resources
Data Sheet


