- Item #
- Y3534
Note:
Stainless Steel 304
Recommended Accessories

Product Information
Details
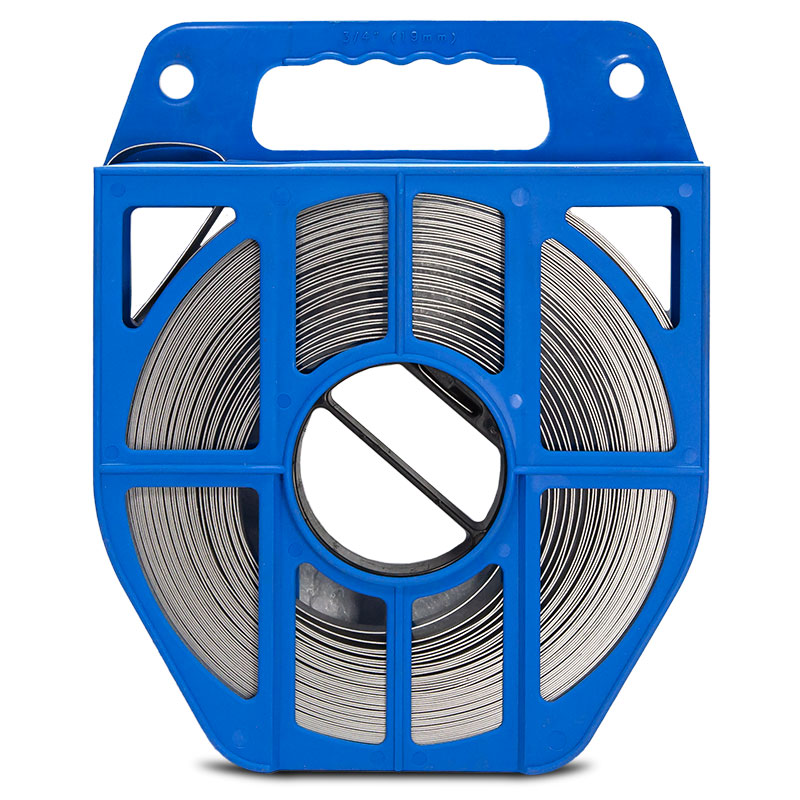
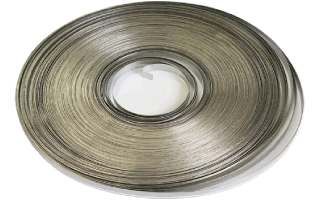
Stainless Steel Strapping
Stainless steel strapping is ideal for installing signs on large diameter posts and poles when standard sign mounting brackets won't work.
The most common uses for stainless steel strapping are for securing wing type brackets for street name signs, as well as mounting regulatory and warning traffic signs on poles. These rolls of 3/4" x .030” x 100 ft. long stainless steel strapping come in a plastic tote that keeps the strapping organized and allows it to be portable.
-
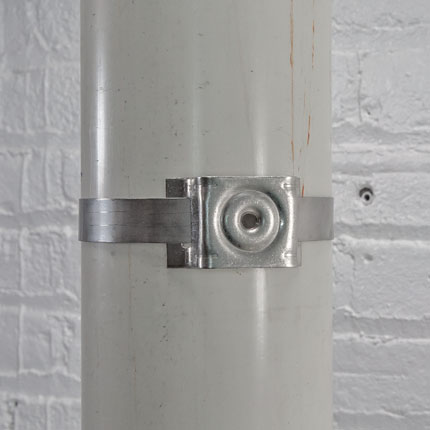
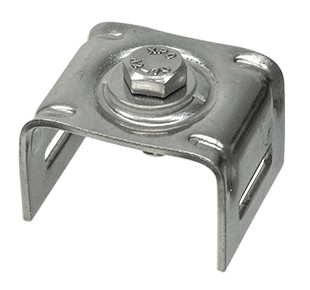
Flared leg bracket
with ¾" S.S. strapping -
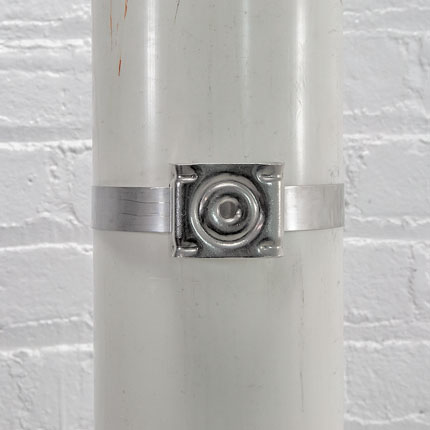
Straight leg bracket
with ¾" S.S. strapping
-
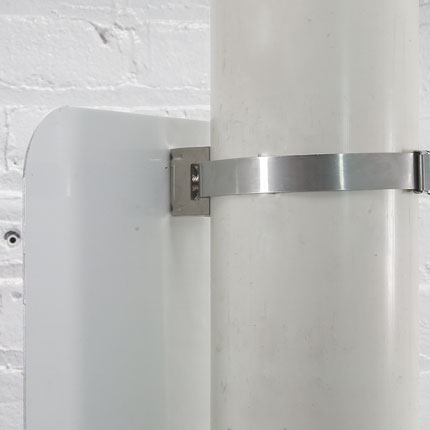
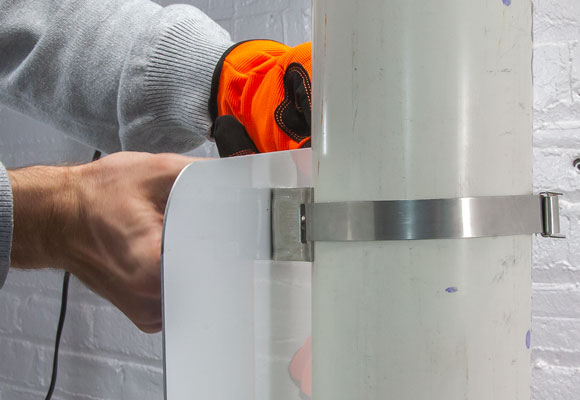
Side view of a mounted sign
using S.S. strapping -
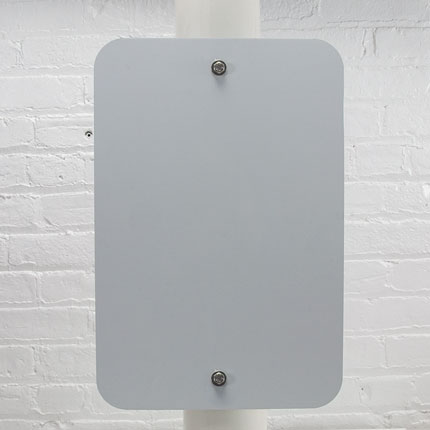
Front view of a mounted sign
using S.S. strapping
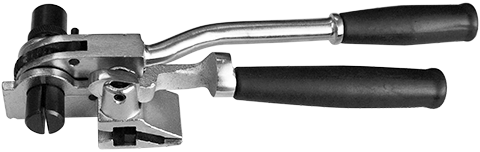
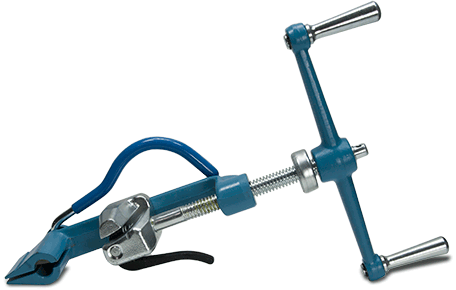
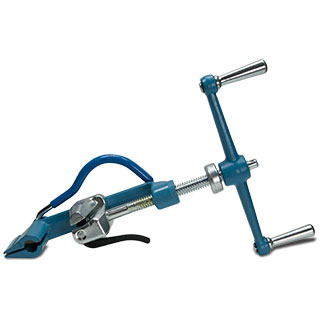
Tools required for installation:
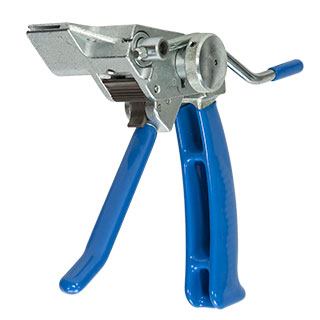
- Strapping tool with cutter such as our RTST-1 , Y3532 or Y3533
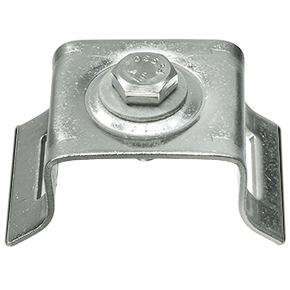
- 2 Flared or Y3531 sign mounting brackets
- Hammer
Installation steps:
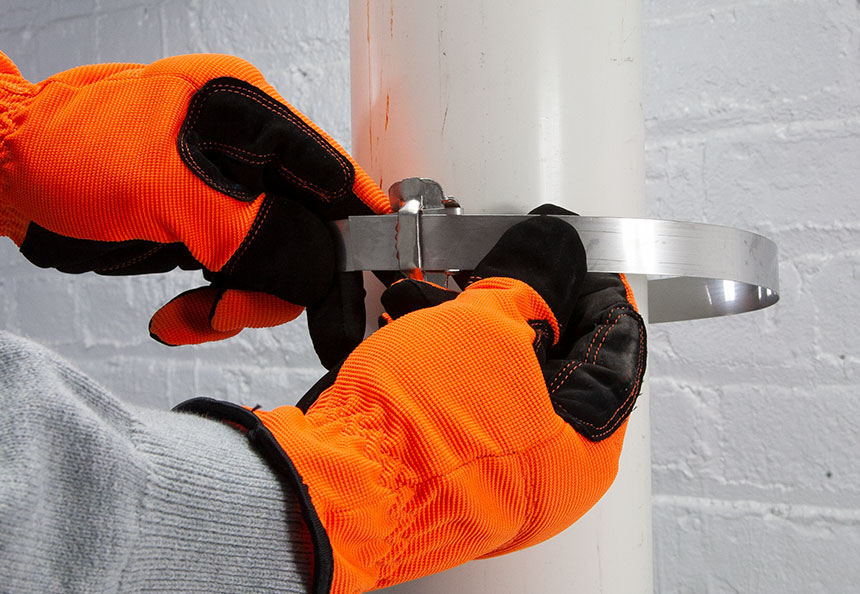
- Measure out enough stainless-steel strapping to go around the pole including an extra 12″ or so of slack.
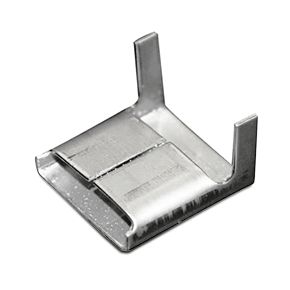
- Insert one end of the strapping into your straight or flared leg sign mounting bracket.
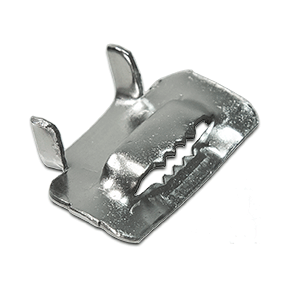
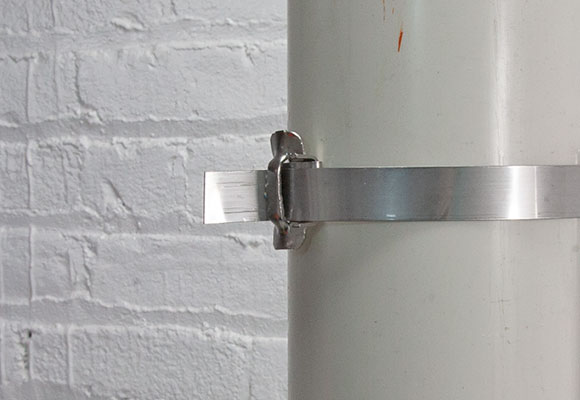
- Insert the same end into your buckle or wing seal and bend about 2″ to 3″ of strapping underneath the wing seal or buckle.
- Wrap the strapping around the pole and slide the other end of the strapping through the buckle or wing seal and bend it back so that the strapping stays in place.
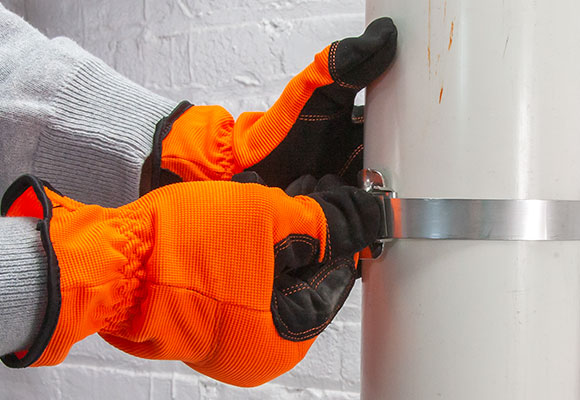
- Tighten the strapping down with the strapping tool, making sure that the tool is against the wing seal or buckle during this step.
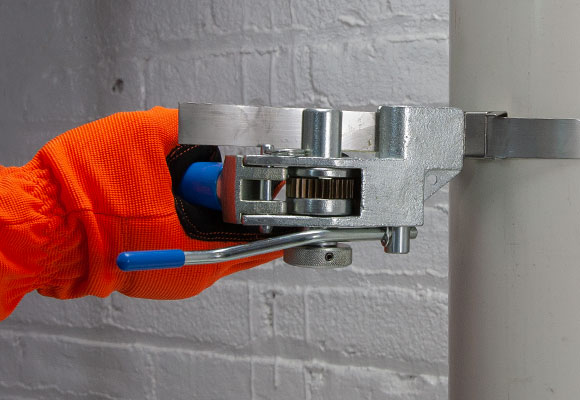
- Once the strapping is tight, bend the strapping with the tool to hold the tension and use the cutter to cut off the excess strapping.
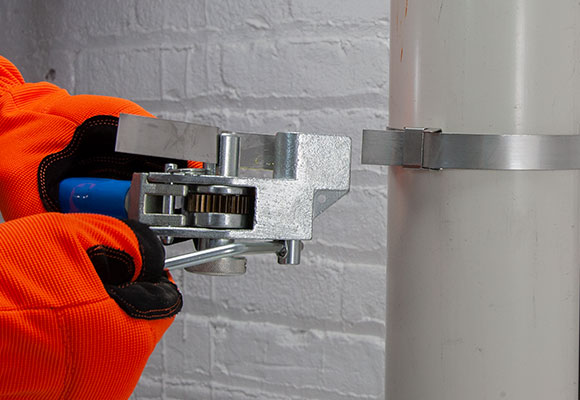
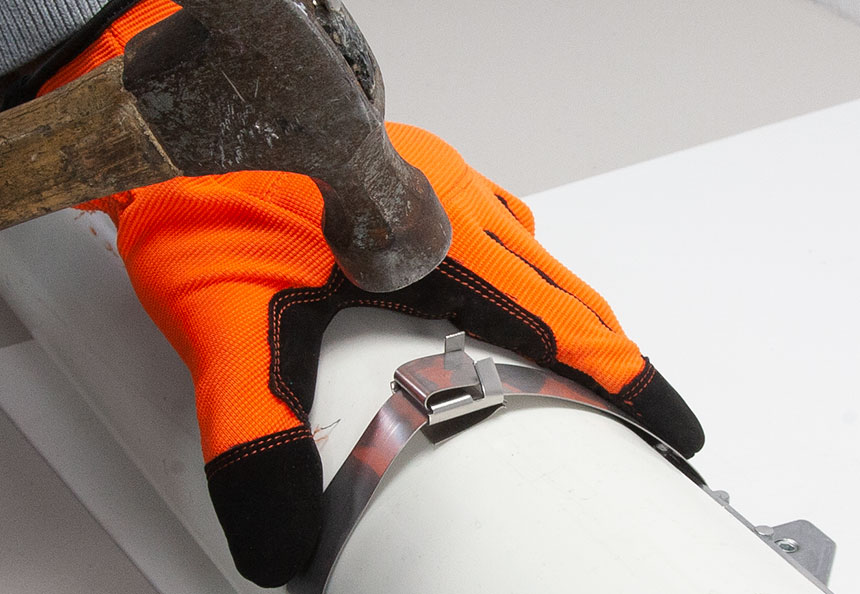
- Fold the excess strapping over the buckle or wing seal and hammer down the wings to secure the strapping.
- Repeat these steps to install the second band of strapping.
- At last, proceed to install the sign onto the brackets, using the hardware provided (1 hex head bolt and 1 washer each).
-
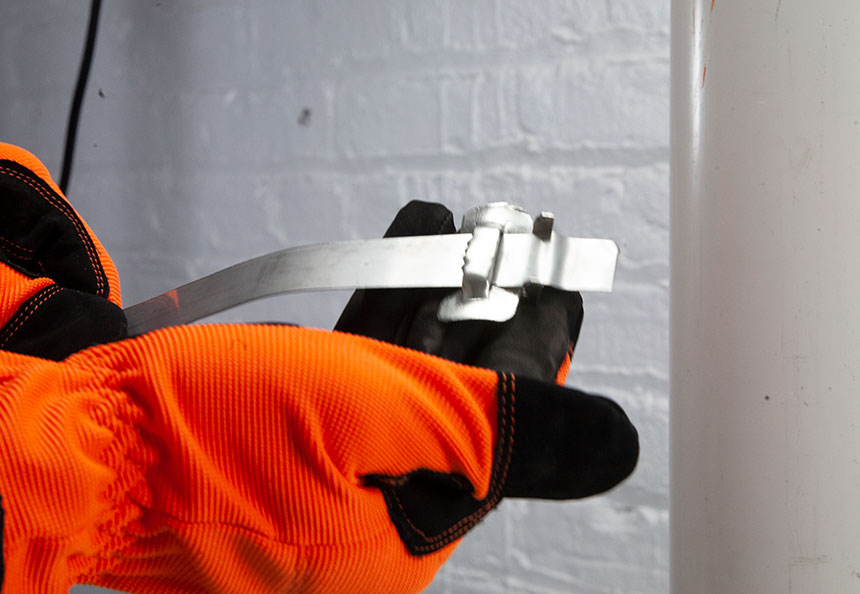
Strapping being inserted into the buckle -
Strapping being inserted into wing seal
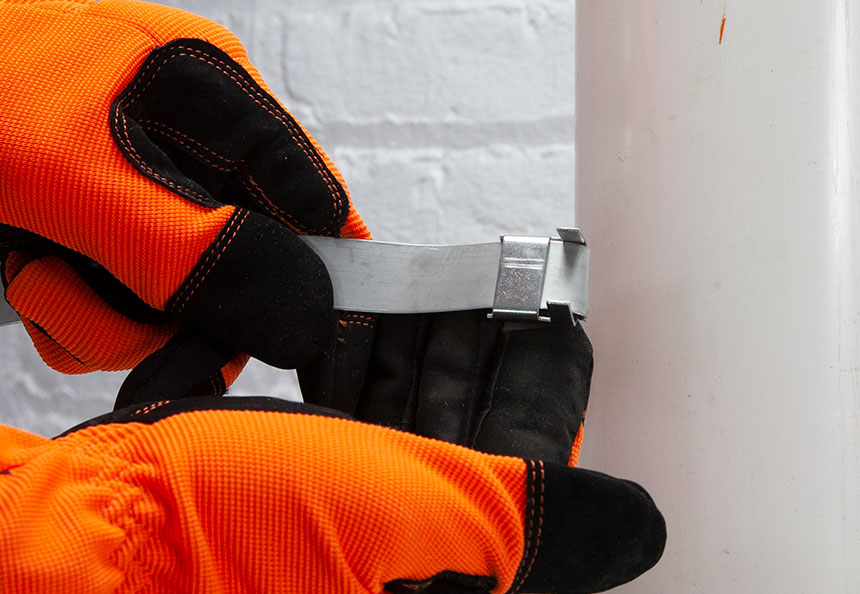
-
The other end of the strapping being inserted
and bent to hold it in place -
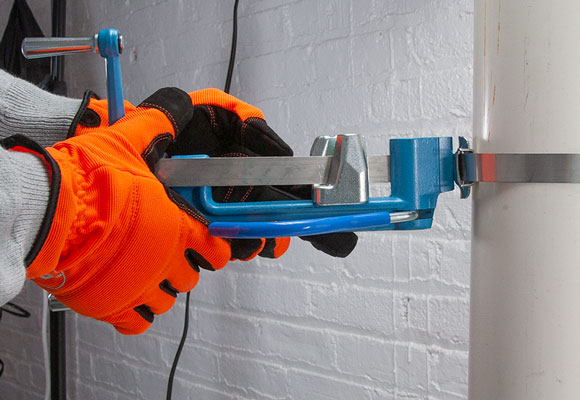
Strapping tool Y3532 tightening the strapping
around the pole
-
Same process with a different tool Y3533
tightening the strapping around the pole -
Using either the Spinner or Ratchet tool cut
the excess strapping
-
Extra strapping left over to be sealed under
buckle or wing seal -
Bend the strapping over the buckle or wing
seal to partially secure the strapping
-
Wing seal or buckle being closed to secure
the strapping -
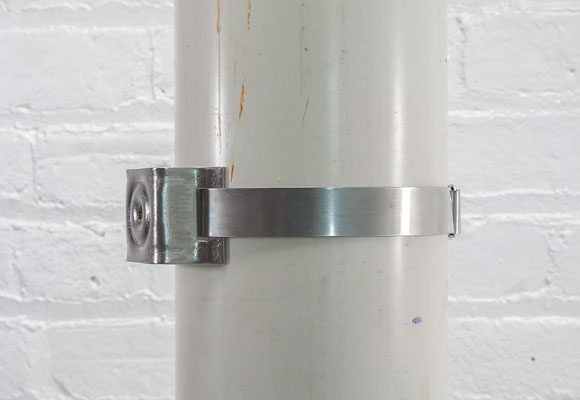
Photo of mounted sign bracket
-
Sign installation process -
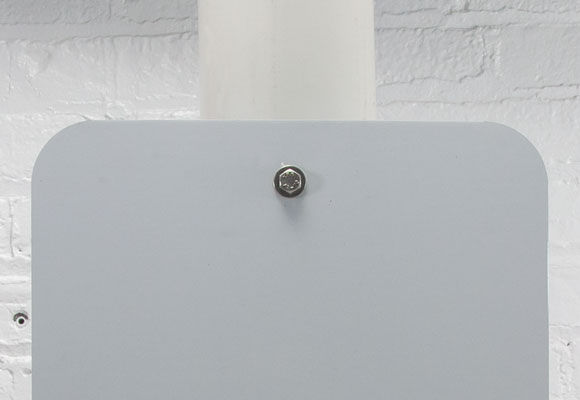
Photo of a mounted sign
